Advanced Microsoft Excel
Part 24 - Templates
Excel 2013 has thousands of online Templates of several categories that help you get started quickly by doing most of the set-up and design work for you. You can just focus on your data.
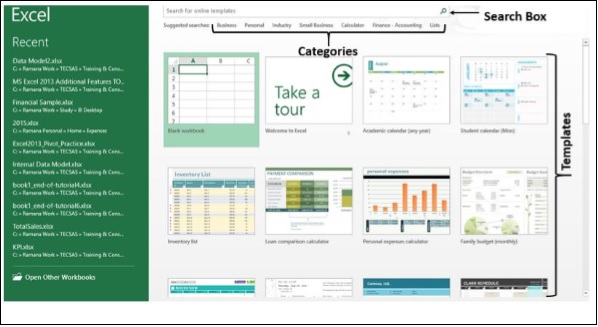
Step 1 − Open Excel 2013. You will see many templates. You also see a Search Box on the top and some Categories below that.
 Step 2 − Click on the category - Business. You will get a message saying Excel is Searching Thousands of Online Templates.
 All the templates available in the category Business will be
displayed. Also, all the categories available will be displayed on the
right side, with the selected category listed as top most. The list of
the categories gives the number of templates in each Category.
All the templates available in the category Business will be
displayed. Also, all the categories available will be displayed on the
right side, with the selected category listed as top most. The list of
the categories gives the number of templates in each Category.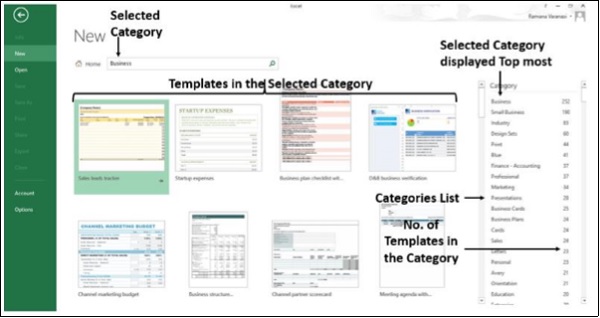 Step 3 − Select another Category Sales from the Category List on the right side. The Category Sales moves up to the top most position in the Category List. The templates of the selected category Sales are displayed.
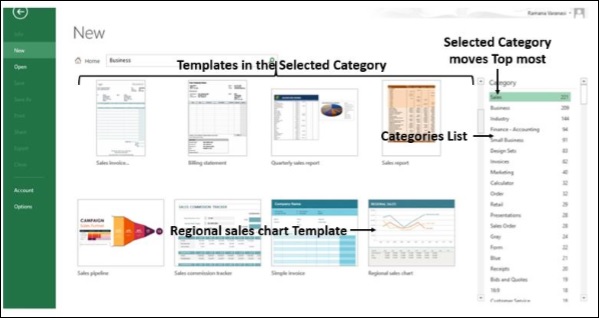 Step 4 − Click on Regional sales chart Template. A brief description of the template, preview of the template and CREATE button are displayed.
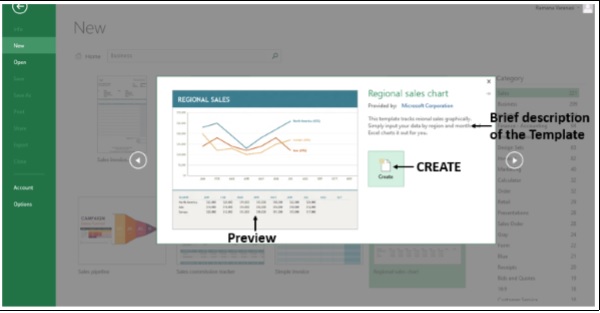 Step 5 − Click on CREATE. Excel creates a Sample Excel Worksheet with the Template you have chosen and with the sample data.
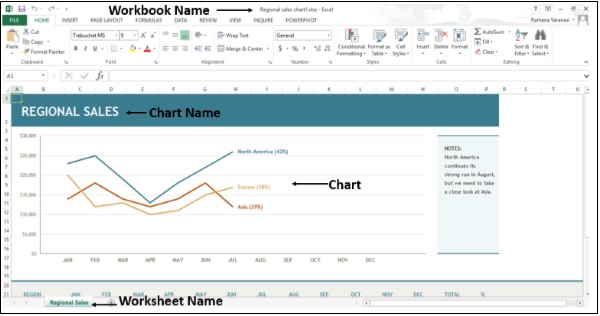 Note that the Workbook Name, Worksheet Name, Chart Name are also given by Excel appropriately.
Step 6 − Replace the data in the worksheet with your data.
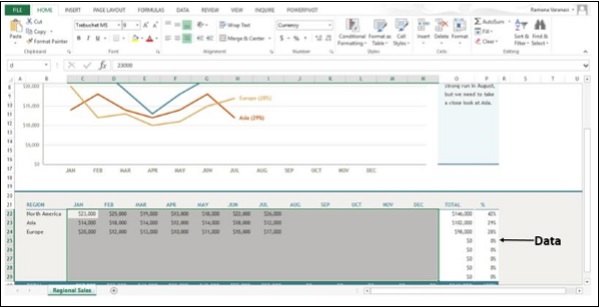 Your Excel Worksheet is ready with mere focus on data.
No comments:
Post a Comment